3. Setup Guide
3.1. Create a New ESX VM and Mount the ISO
Create a new VM with your virtualization software. In this case, we will use VMWare ESX managed through a VMWare VCenter.
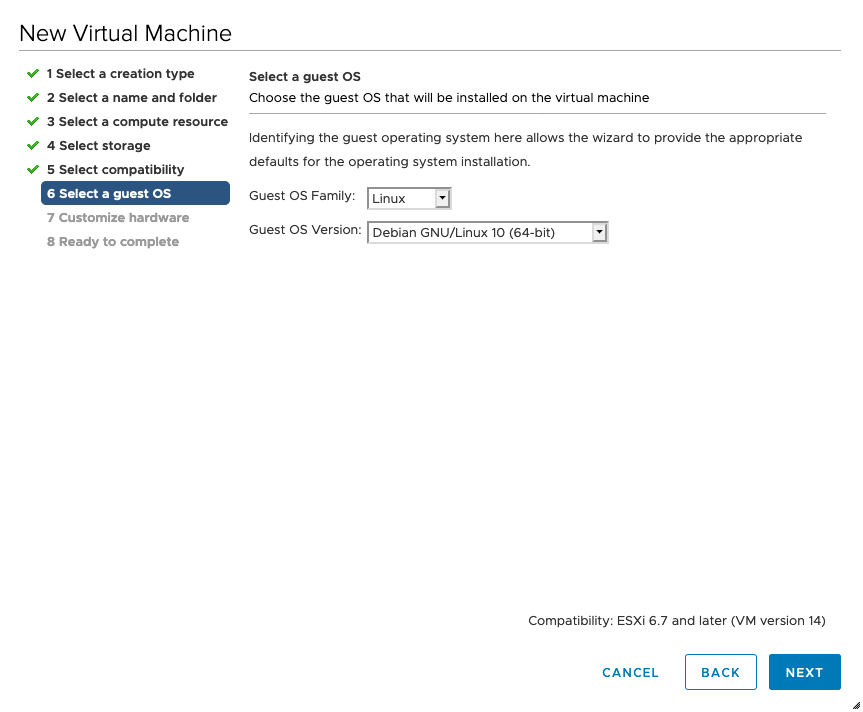
The new VM must be configured with a Linux base system and Debian GNU/Linux 10 (64 bits) as target version. It is recommended to upload the Nextron Universal Installer ISO to an accessible datastore and mount the same to your newly created VM.
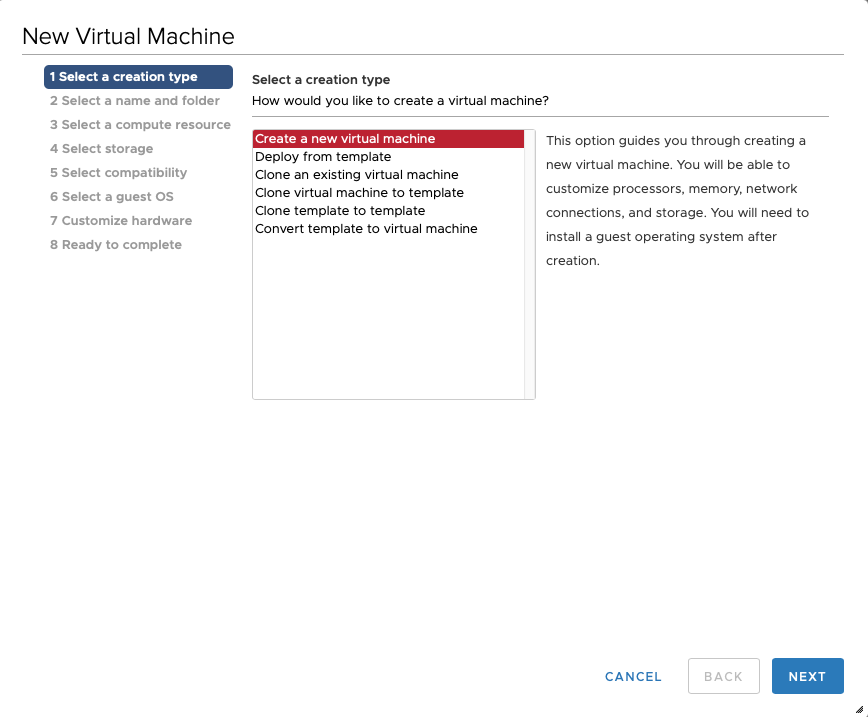
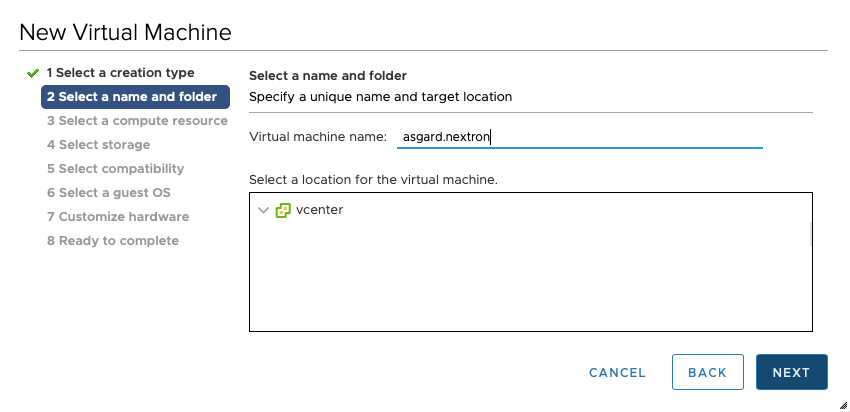
Create a new virtual Machine
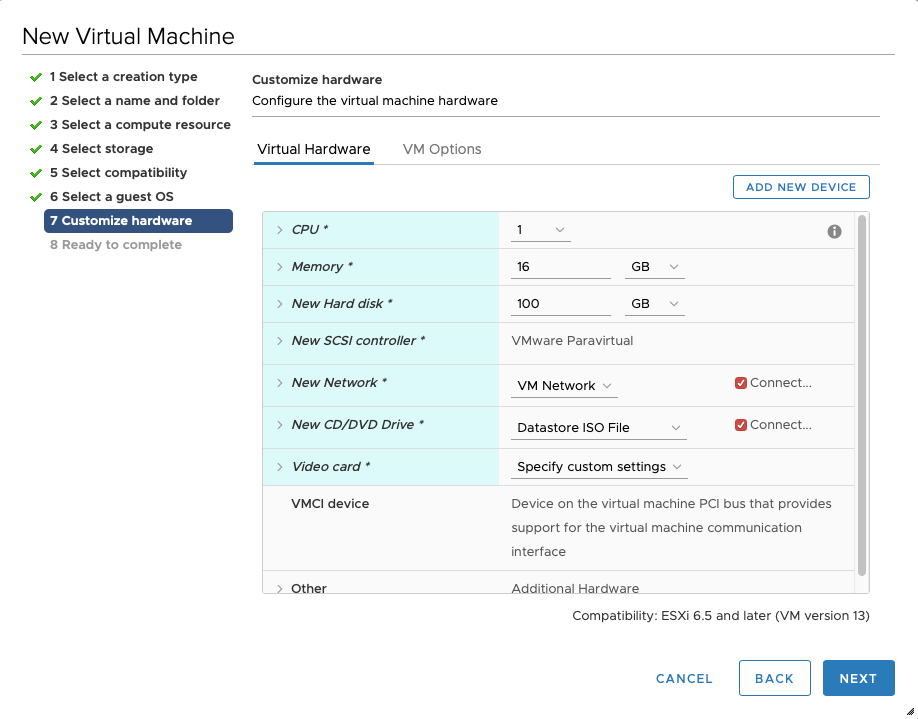
Please make sure to select a suitable v-switch or physical interface that reflects the IP address scheme you are planning to use for the new Analysis Cockpit. Only use one Hard Disk for the installation.
3.2. Analysis Cockpit Installation
Start the installation confirming the only available option in the boot loader screen.
The installer then loads the additional components from the ISO image and lets you select a location and language.
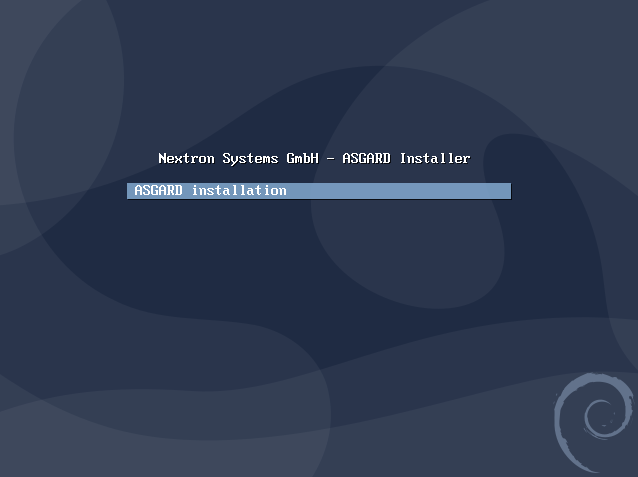
Starting the installation
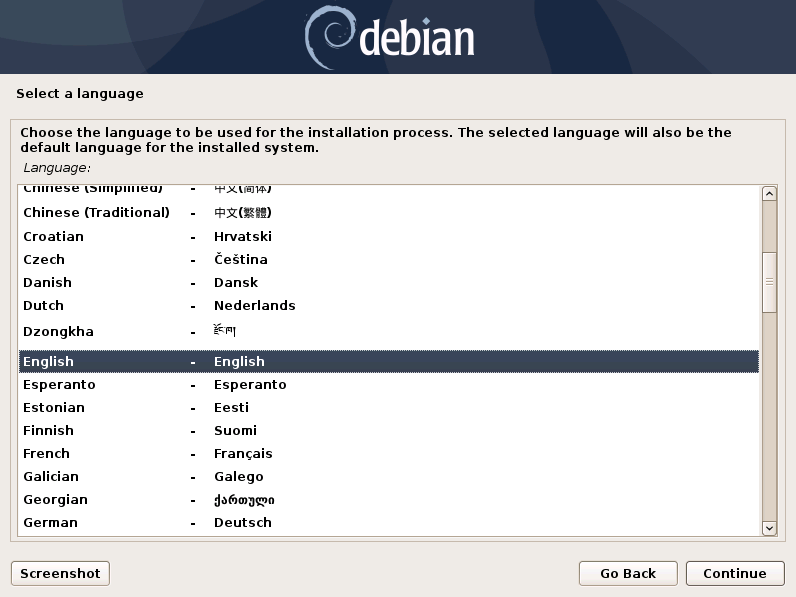
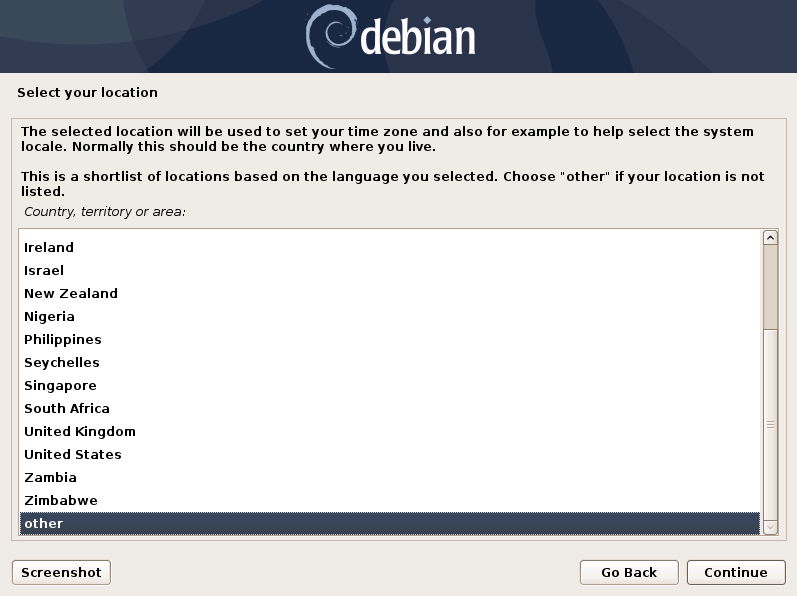

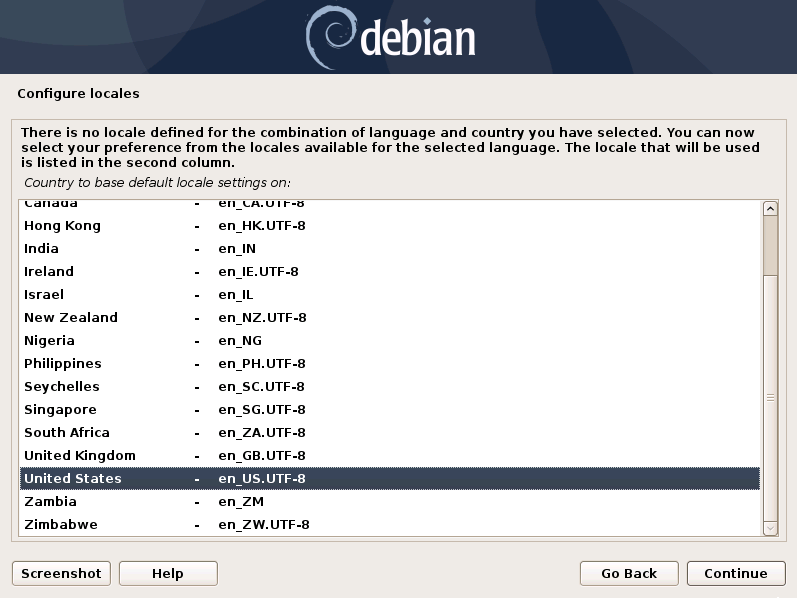
Choosing language, location and locales
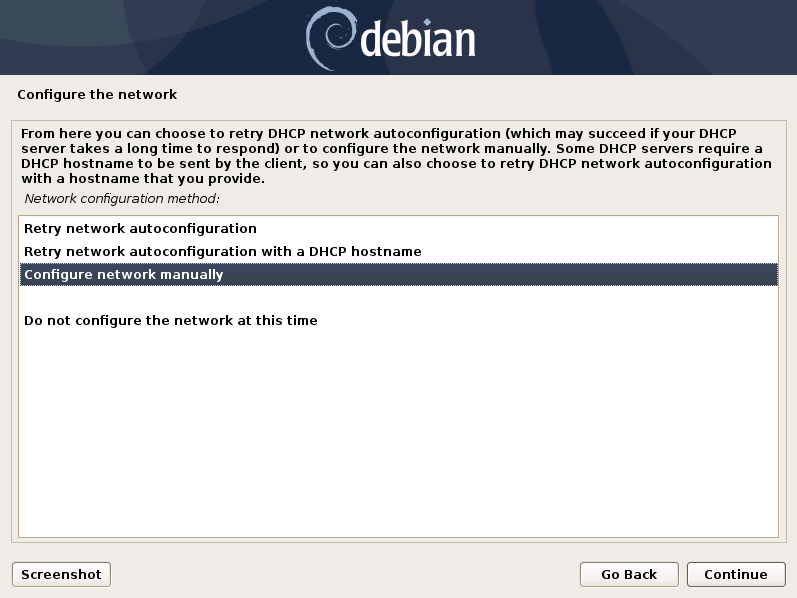
If DHCP is available, network parameters will be configured automatically.
Without DHCP, ASGARD proceeds with the manual network configuration dialogue.
3.3. Network Configuration
The next step prompts for a hostname for the device. After entering a
hostname and clicking Continue, it also prompts for the Domain Name.
After this Information is submitted, the Installer tries to get network
configurations from a DHCP-Server. If there is none to be found, it will
prompt for a static IP-Configuration.

Enter the IP address that Analysis Cockpit should use and optimally directly add a netmask in CIDR notation. (see below) If you don't append the netmask, you'll be asked for a network mask in the following dialogue.
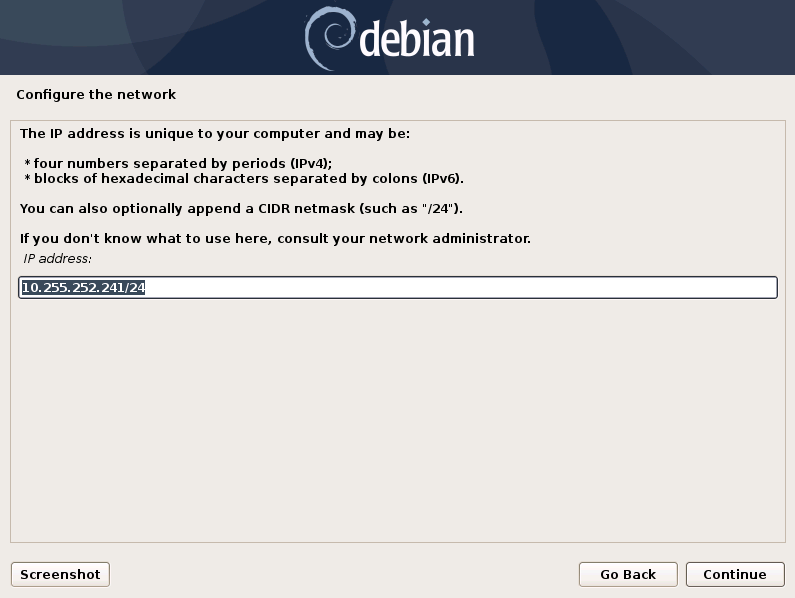
Network Configuration - IP addresses
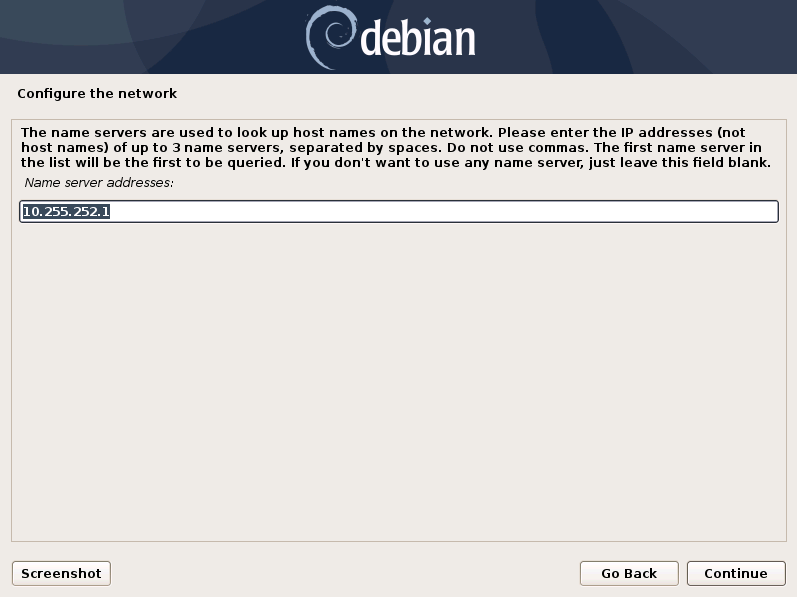
Network Configuration – Enter the DNS server addresses
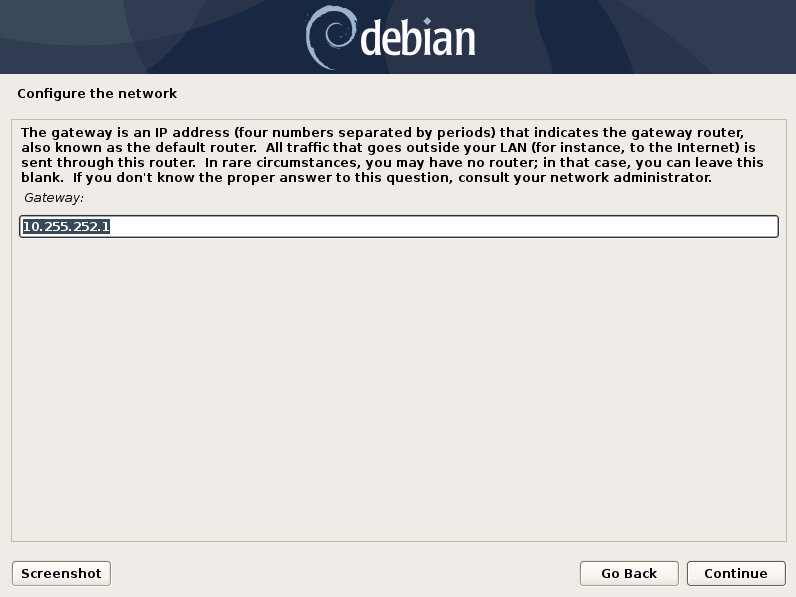
Network Configuration - Enter the Gateway
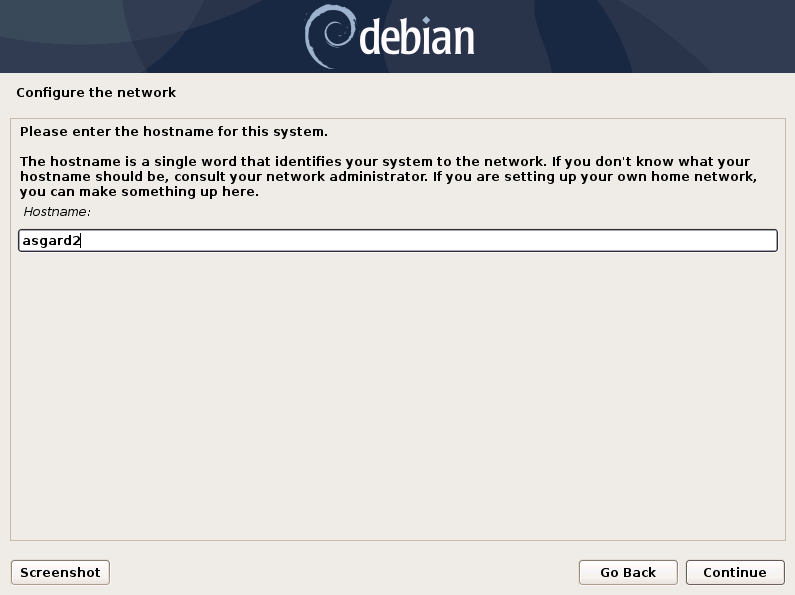
Network Configuration - Enter the Hostname
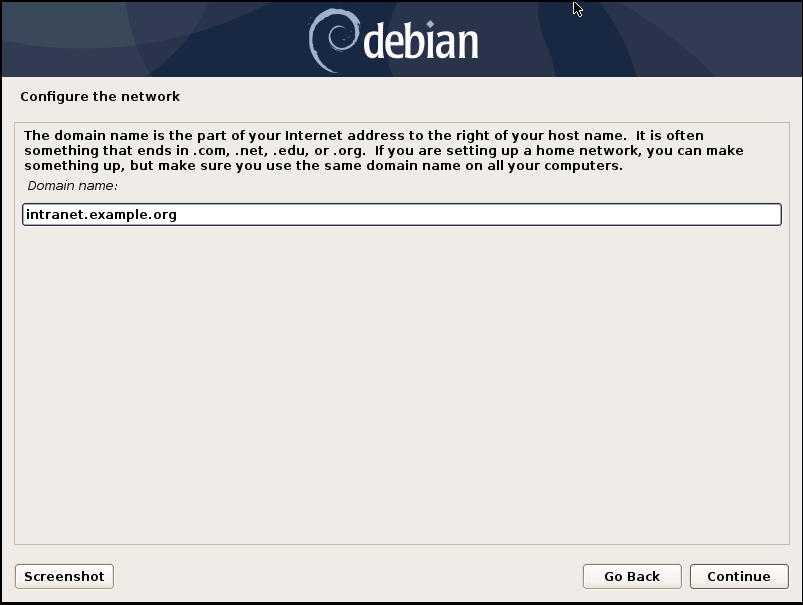
Network Configuration - Enter the Domain name
Important
Important: Make sure that the combination of hostname and domain creates an FQDN that can be resolved from the ASGARD Management Center(s) you want to connect with your Analysis Cockpit. If you've configured a FQDN (hostname + domain) that cannot be resolved, your ASGARDs will encounter an error during connection.
This is especially important since your Analysis Cockpit will create some certificates during the installation, which will not contain an IP Address as its Subject Alternative Name (SAN), but only the FQDN! You will not be able to connect your ASGARD Management Center with your Analysis Cockpit via IP Address.
3.4. Choosing a password
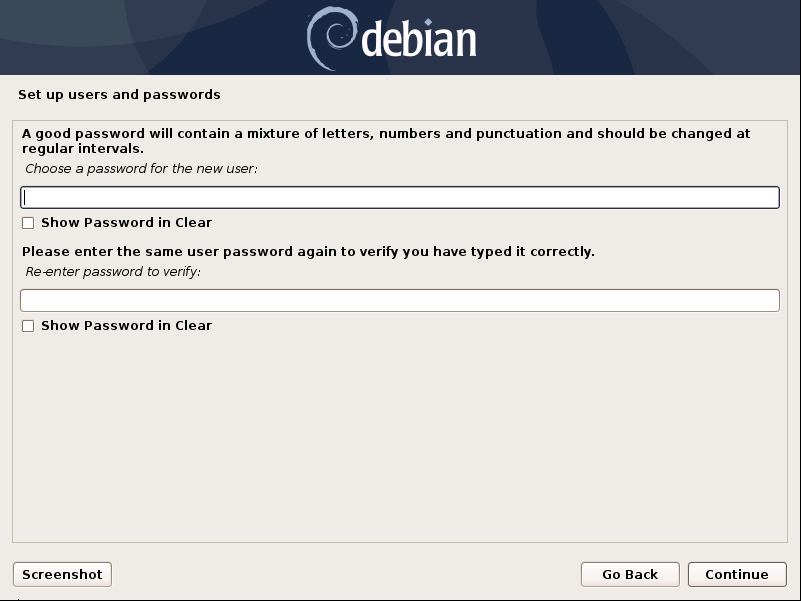
Choosing a password for the nextron user
3.5. Partitioning of the Hard Disk
Warning
The Analysis Cockpit is intended to be installed with only one disk. Do not configure your server with multiple disks. The system won't configure additional disks. Make sure that your disk has the recommended size. See Hardware Requirements for more information.
Finally, confirm the settings, select “Yes” and click “Continue”.
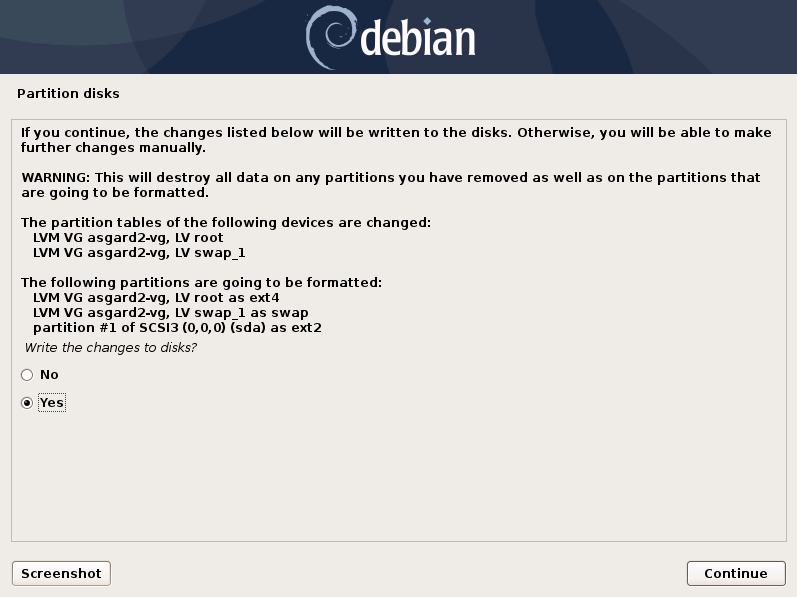
Partition Disks – Write changes to disks
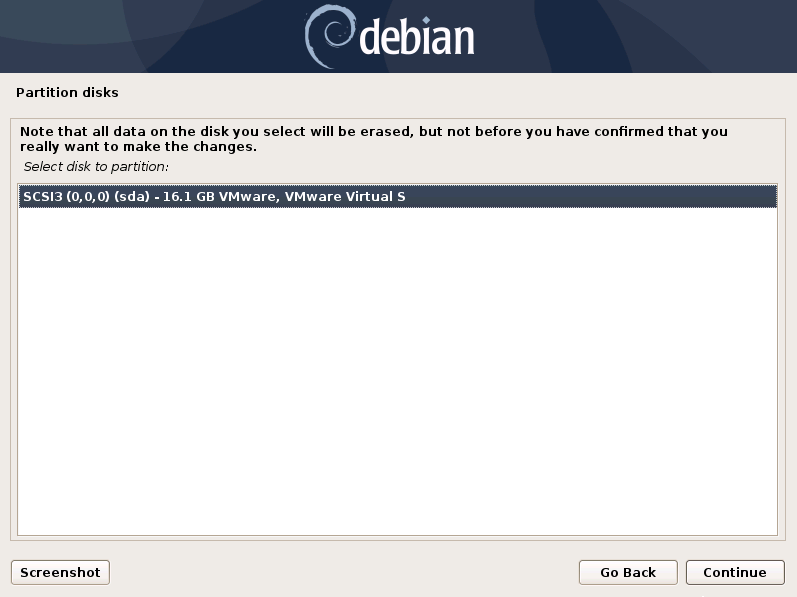
Partition disks – Select disk to partition
3.6. Proxy Configuration
If you are using a proxy to access the Internet, enter the proxy details in the next step. Please note, Internet connectivity is required for the next step – the installation of the ASGARD Analysis Cockpit service.
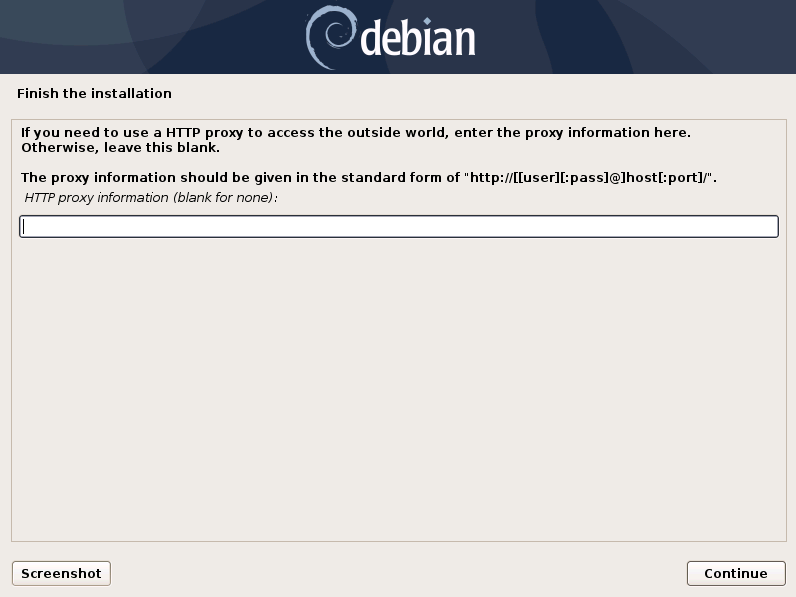
Proxy Configuration
The proxy configuration supports unauthorized access and HTTP Auth, for
example http://our-proxy.local:8080 and http://username:password@our-proxy.local:8000
3.7. Install the Analysis Cockpit Services
The base installation is now complete. In the next step we'll install the Analysis Cockpit service.
Important
Internet connectivity is required for this step.
Use an upper case
iin the wordnextronInstaller.
Use the VMWare console or SSH to the appliance using the user
nextron.
To start the Analysis Cockpit installation run the following command:
nextron@asgard-ac:~$ sudo nextronInstaller -cockpit
After the installer has completed its operations successfully, the system is ready to be used.

Message upon successful completion
Note that the FQDN shown after https:// has to be resolvable by the
connected ASGARD Management Centers and users that try to access the
Analysis Cockpit.
3.8. Changing Passwords
3.8.1. Console
The password for the linux system can be changed by
opening a command line on the Analysis Cockpit. Log into
the Analysis Cockpit via SSH with the user nextron.
Simply type the following command after logging into the
system, to set a new password for the nextron user.
nextron@asgard-ac:~$ passwd
Changing password for nextron.
Current password:
New password:
Retype new password:
passwd: password updated successfully
Make sure to write that new password down or better save it into a password safe.
Note
On older installations default password is nextron.
3.8.2. Web UI
Log into the web-based frontend with user admin and password
admin and change the initial password.
The Analysis Cockpit Web interface password can be changed by clicking
your username in the top right corner and selecting User Settings.
From here you can change your password.
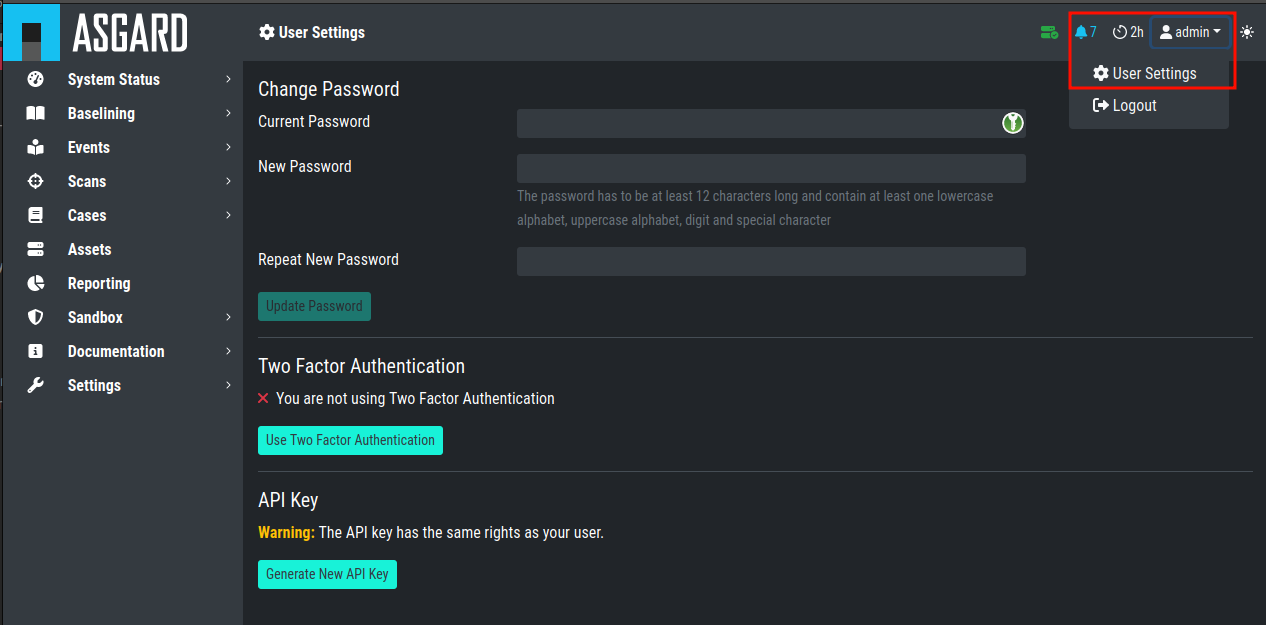
User Settings
3.9. Changing the IP-Address
The Analysis Cockpit's IP-Address can be changed in /etc/network/interfaces.
The IP is configured with the address variable.
nextron@asgard-ac:~$ sudo vi /etc/network/interfaces
auto ens32
iface ens32 inet static
   address 172.16.2.7/24
   gateway 172.16.2.254
   dns-nameservers 172.16.20.20
You can now restart networking.service to apply the changes.
nextron@asgard-ac:~$ sudo systemctl restart networking.service
Important
The network interface might have a different name, so pay attention to the name (in this example
ens32).If restarting the
networking.serviceis throwing an error, you you can restart the server
The new IP can be applied with the command sudo systemctl restart networking
3.9.1. Verifying DNS Settings
To verify if ASGARD is using the correct DNS Server, you can inspect the file /etc/resolv.conf:
nextron@asgard-ac:~$ cat /etc/resolv.conf
search example.org
nameserver 172.16.200.2
If you see errors in this configuration, you can change it with the following command:
nextron@asgard-ac:~$ sudoedit /etc/resolv.conf